Collections overview
A collection groups related courses into one shareable learning path. Here is when to use one, how to build and share it, and how to track engagement.
A collection groups several related courses into a single learning journey, so learners move through them as one programme. Use one when a topic is big enough that the parts stand alone, or when different people need different parts of it.
Thinking about collections from the start helps you design smarter, more flexible learning experiences:
- A collection supports modular learning, making it easier for learners to jump in and out at their own pace.
- A collection helps you align with scaffolded design principles, where each course builds on the last, supporting deeper learning over time.
- Collections can make updating easier. You can improve one course in the collection without needing to rework the entire series.
Should I use sections or a collection?
Inside a single course, screens group into sections, which learners move through as chapters, each with its own progress. That's usually enough to give a long course a shape people can handle.
Reach for a collection when the parts are genuinely separate courses: when each one stands on its own, when people need to complete them at different times, or when you want to report on them separately.
How do I split a long topic into a collection?
Say you have a 100-page onboarding document covering everything from company values and policies to tools, workflows, and team introductions.
You can hand the whole document to the agent and let it build one course with sections for each theme. Or, if the themes really are separate courses, split them out and group them into a collection:
- Welcome & Company Culture
- Tools & Tech Setup
- Policies & Compliance
- Your First Week
Grouping those into a single Onboarding Collection improves learner focus, makes tracking progress easier, and lets each topic stand on its own.
How do I create a collection?
- From the dashboard, select Collections in the left-hand menu.
- Click New collection.
- Rename the collection, add a header image and a short description.
- Click Add courses, select the courses to include, and click Add to collection.
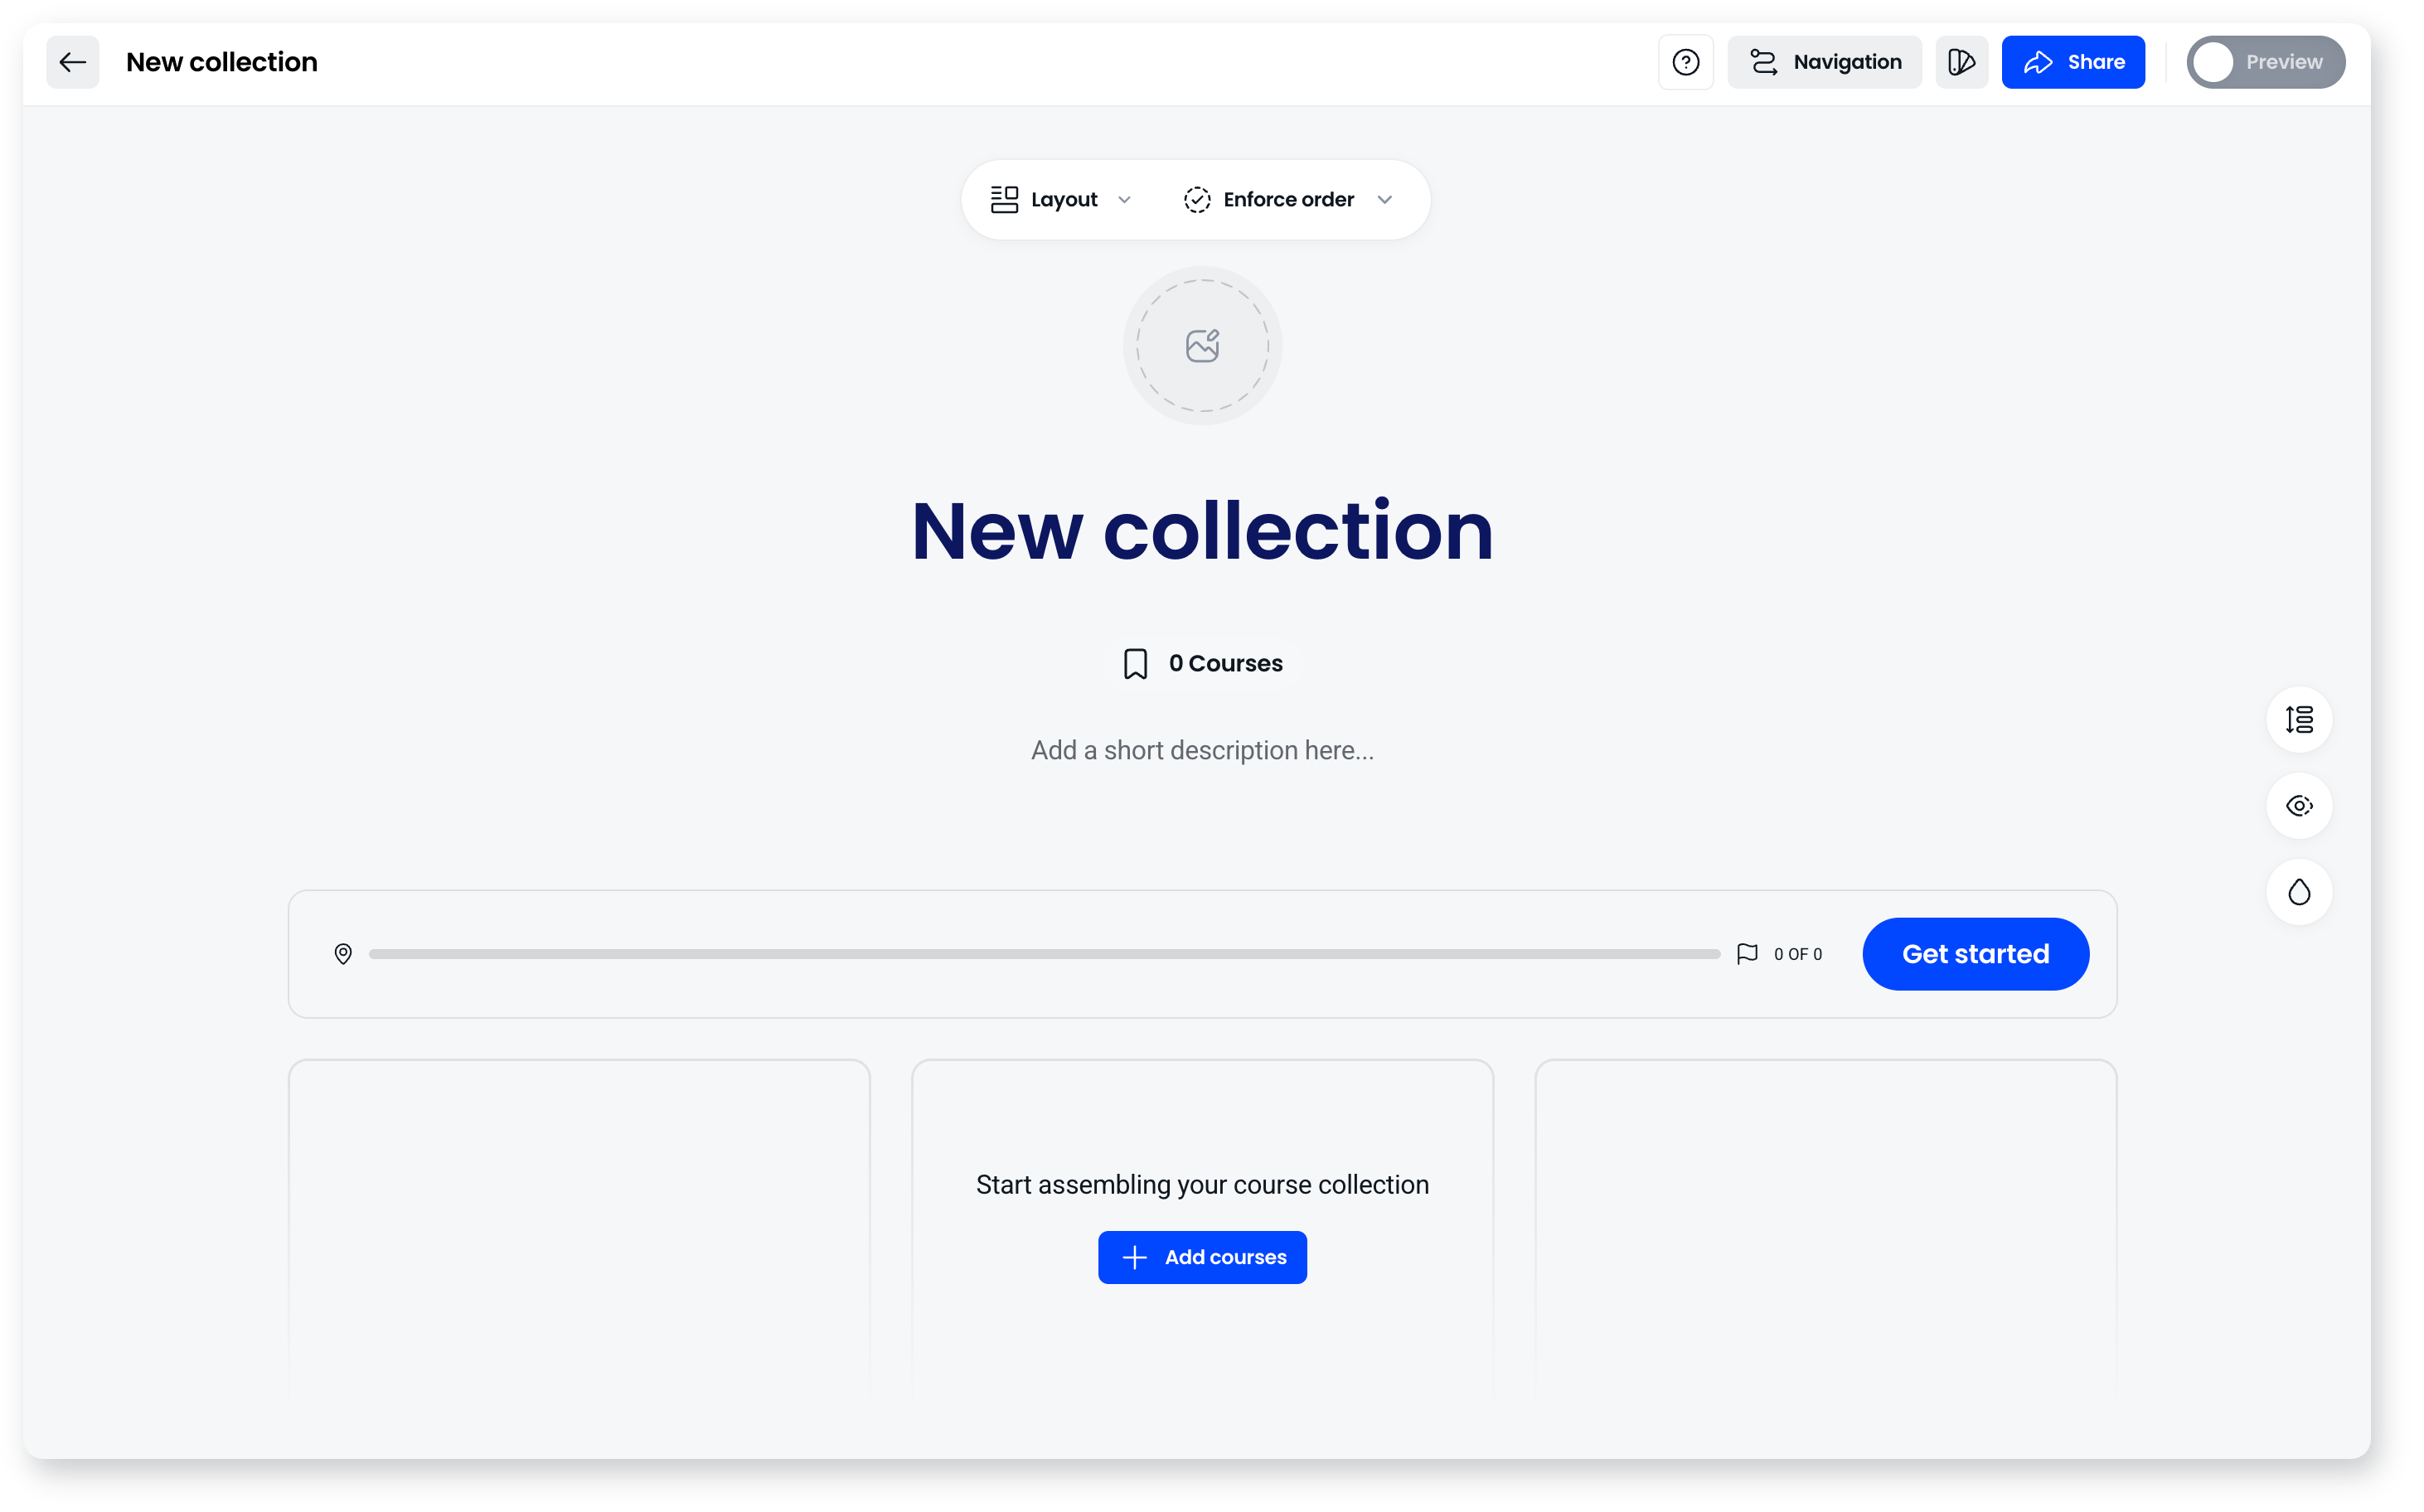
To reuse an existing structure, open the three-dot menu on a collection and choose Duplicate.
How do I order and manage the courses?
- Reorder: drag and drop course cards, or use Reorder and drag them into sequence.
- Enforce order: select Enforce order and toggle it on, so learners can't start the next course until they finish the previous one.
- Course card menu: open the three-dot menu on a course card. Under Thumbnail, turn Display title on or off, and when the title is shown, use the Overlay slider to darken the thumbnail so the title stays readable. Under Course, choose Replace to swap in a different course, or Remove to take it out of the collection.
Deleting a course from your workspace also removes it from any collection it's in.
How do I customise the appearance?
- Theme: select the themes icon and choose a theme, which sets the colours, fonts and logo. Use Edit theme to change them.
- Header image: upload one, choose from your asset library, or pick from stock photography or GIPHY.
- Course counter: rename the "Courses" label (for example to Modules or Topics).
- Layout and display: switch between Grid and List, and use display options to show or hide elements like the counter, description, or navigation bar. On mobile, collections default to List view.
Can I preview a collection?
Yes. Toggle Preview on to see the collection as a learner would, across desktop, tablet, and smartphone views.
How do I share a collection?
- Click Share at the top of the collection.
- Choose the access level: anyone with the link (anonymous), anyone who provides an email address, only people invited, only people with an approved domain, or no one (collection disabled), and click Save changes.
- Click Copy link to share it. To show the collection inside a tool like Notion, Confluence or HubSpot, paste the link into that tool's embed block.
To invite specific people, type their email address into the Invite people field in the Share window, toggle Send invitation message if you wish to include custom details, and click Send invitation.
How do I track engagement?
Select Insights on a collection to see collection analytics:
- Viewed, Started, and Completed counts for the date range you choose.
- A progression funnel showing where learners drop off.
- Individual usage, down to which courses each learner started or completed and their progress.
You can download the analytics as a CSV. When a course is taken inside a collection, its data is captured in the collection's analytics rather than the standalone course analytics.
Frequently asked questions
Do I need to split my document before building?
No. The agent can take a long document and build a course with sections. Split it only when you actually want separate courses, for example so people can take them at different times or so you can report on each one.
Can I report on a collection as a whole?
Yes. A collection has its own Insights, so you can see how people are progressing through the programme as well as through each course in it.
Can I make learners take courses in order?
Yes. Turn on Enforce order, and learners must complete each course before moving to the next.
What happens if I delete a course that's in a collection?
Deleting a course from your workspace also removes it from any collection that includes it.
Where do I see how a collection is performing?
Open the collection's analytics from the Insights option. It shows views, starts, completions, a progression funnel, and individual learner usage, and you can export it as a CSV.