Course links & access
The access levels you can set on a shared course, how to change them, and how each one affects what you can see about learners.
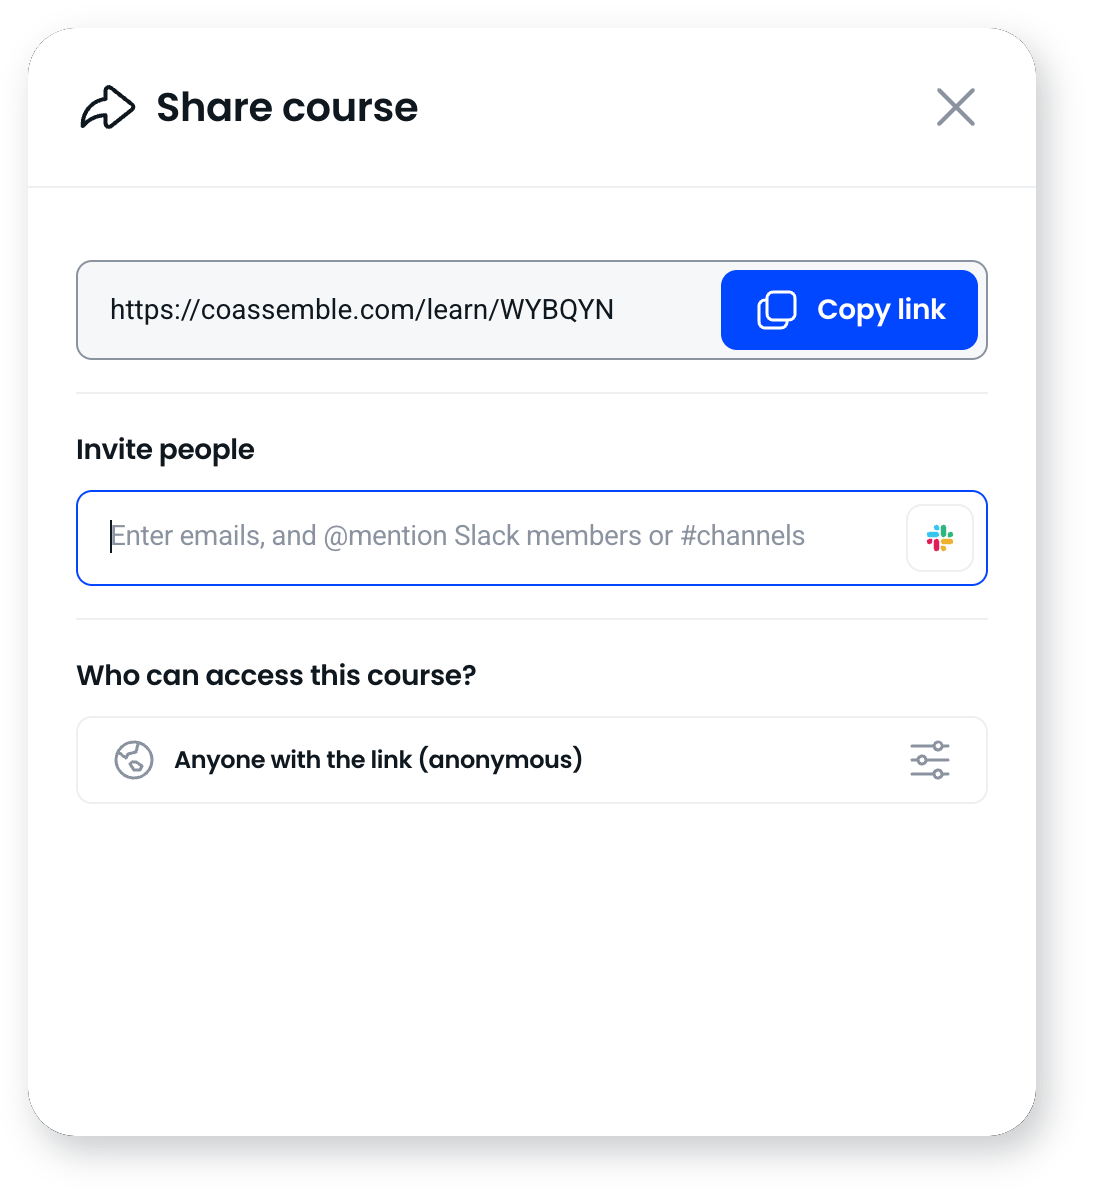
Share a course with a link or an email invitation, and set who can open it: anyone with the link, anyone who provides an email, only invited people, only an approved domain, or no one.
When you share a course, you control who can access it. Open the Share options from below a course card or the top of the editor when inside a course, choose an access level, then share by copying the link or inviting people by email. Access changes take effect immediately, even for people who already have the link.
Set the access level
- Open the Share dialog.
- Under Who can access this course?, open the access settings.
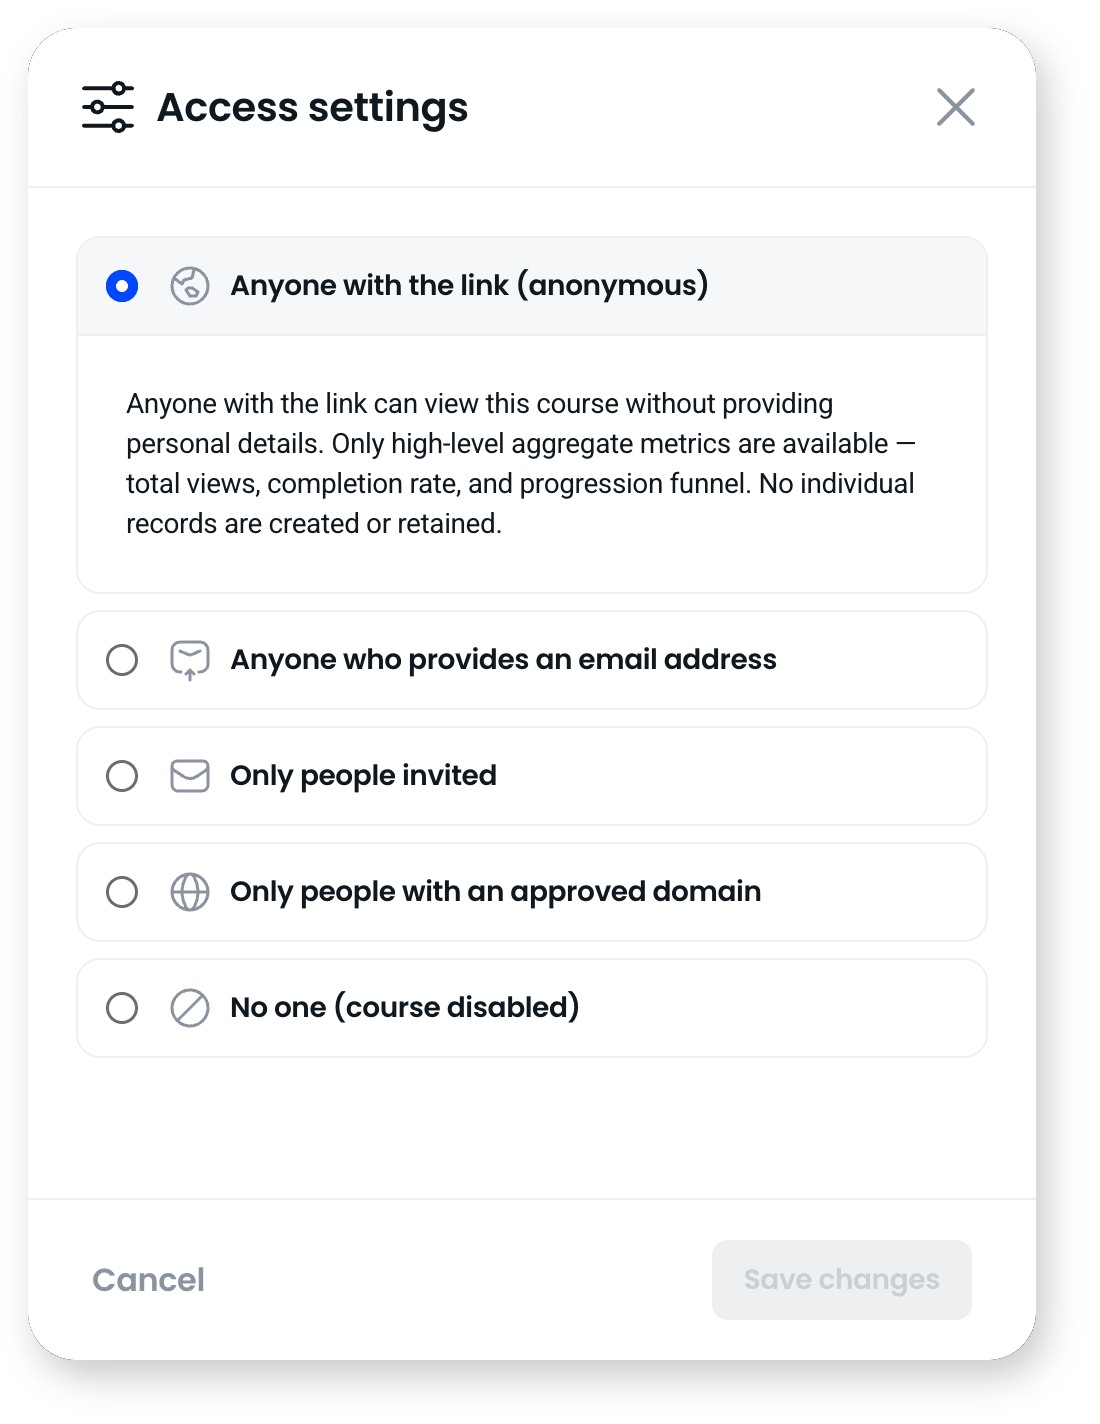
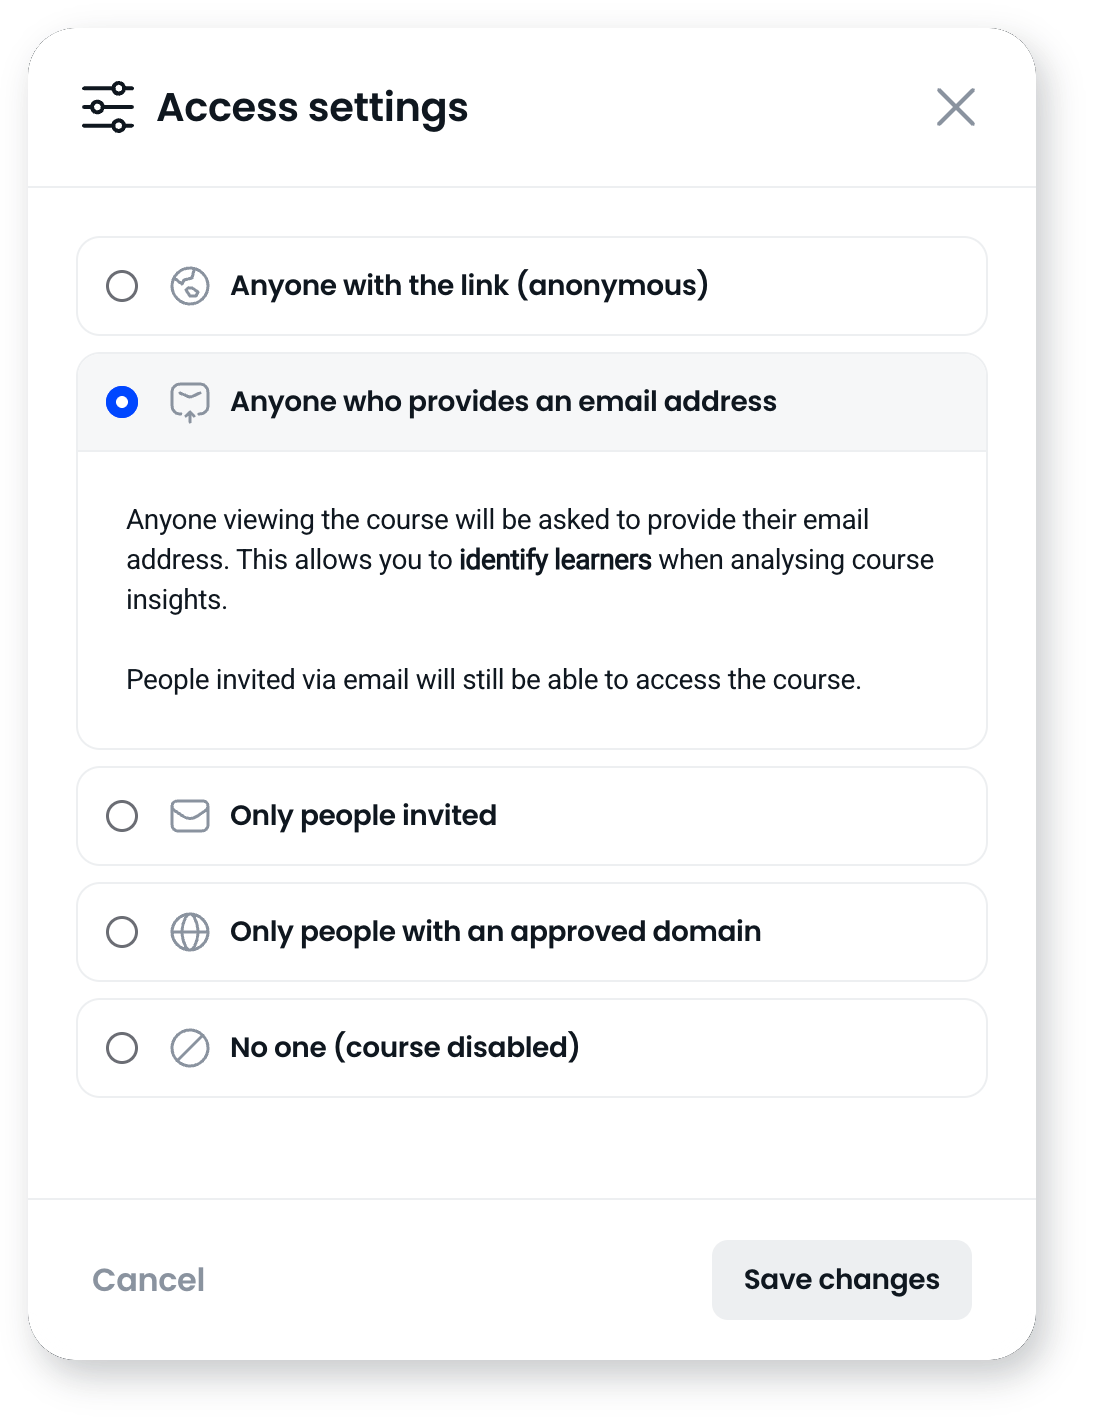
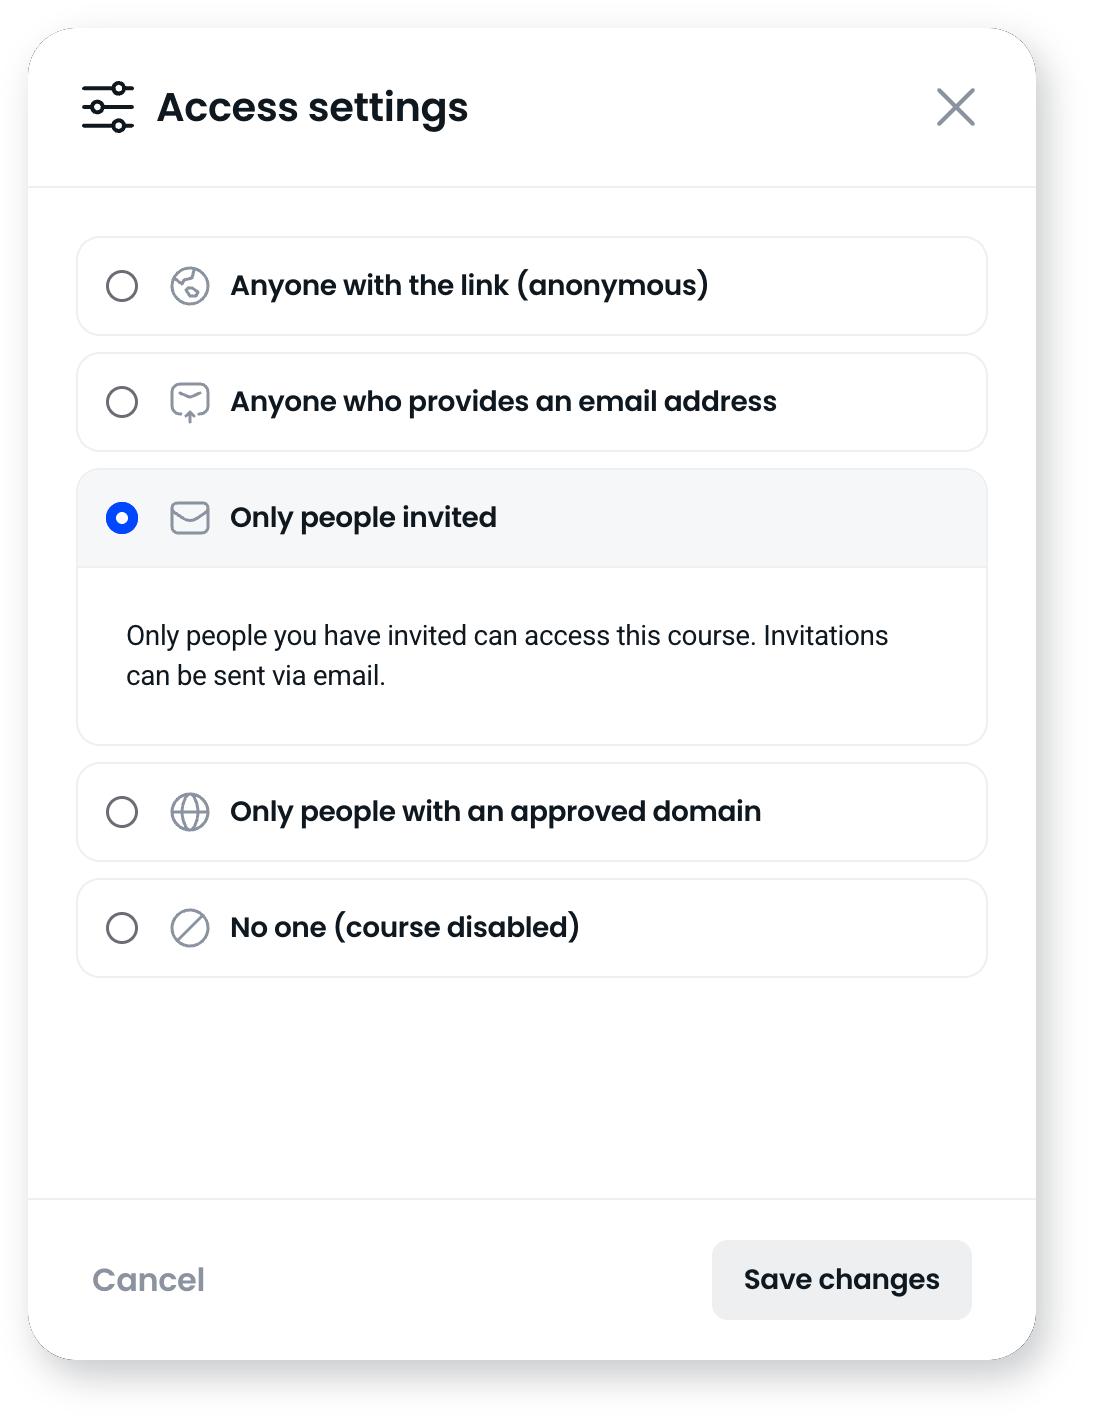
- Choose an option (below) and select the checkmark save button in the bottom right corner to apply your changes.
The access options
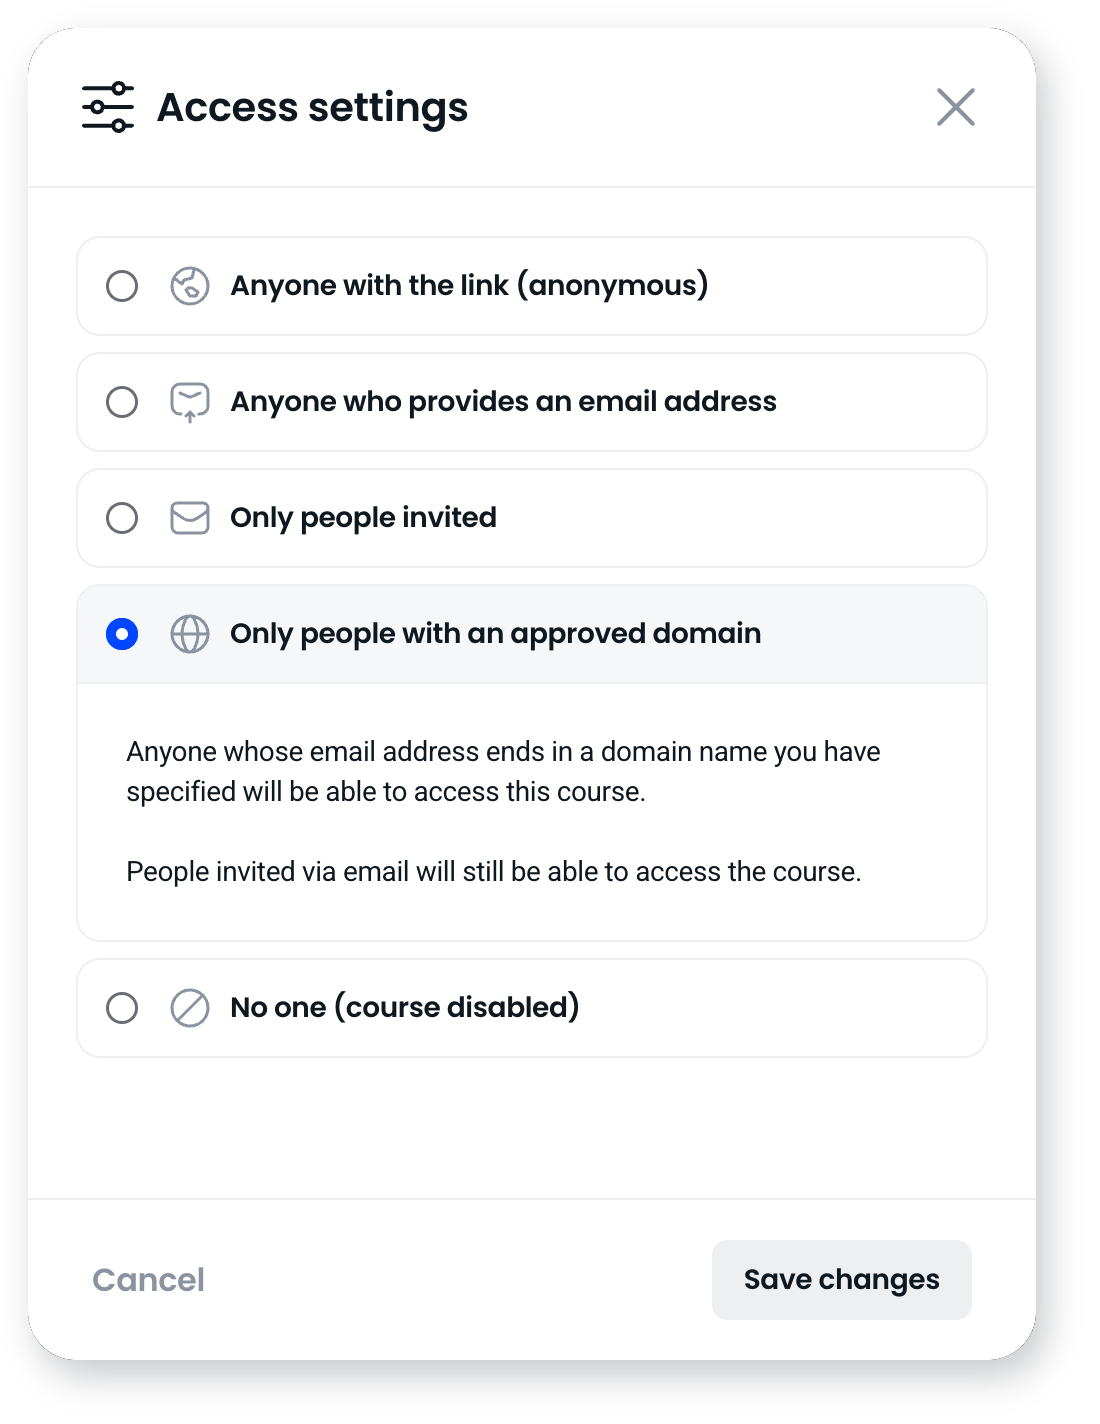
- Anyone with the link (anonymous): anyone with the link can open it, and they stay anonymous (no email captured). Only high-level aggregate metrics are collected. Good for open training or sharing widely in a channel where tracking individual users is not required.
- Anyone who provides an email address: people enter their email before viewing, so you can identify them in your analytics. Good for tracking engagement without managing invites.
- Only people invited: only people you invite by email can access it. Good for private or internal training.
- Only people with an approved domain: anyone whose email ends in a domain you specify can access it. Select the domain management link to view or add approved domains. Good for company-wide training.
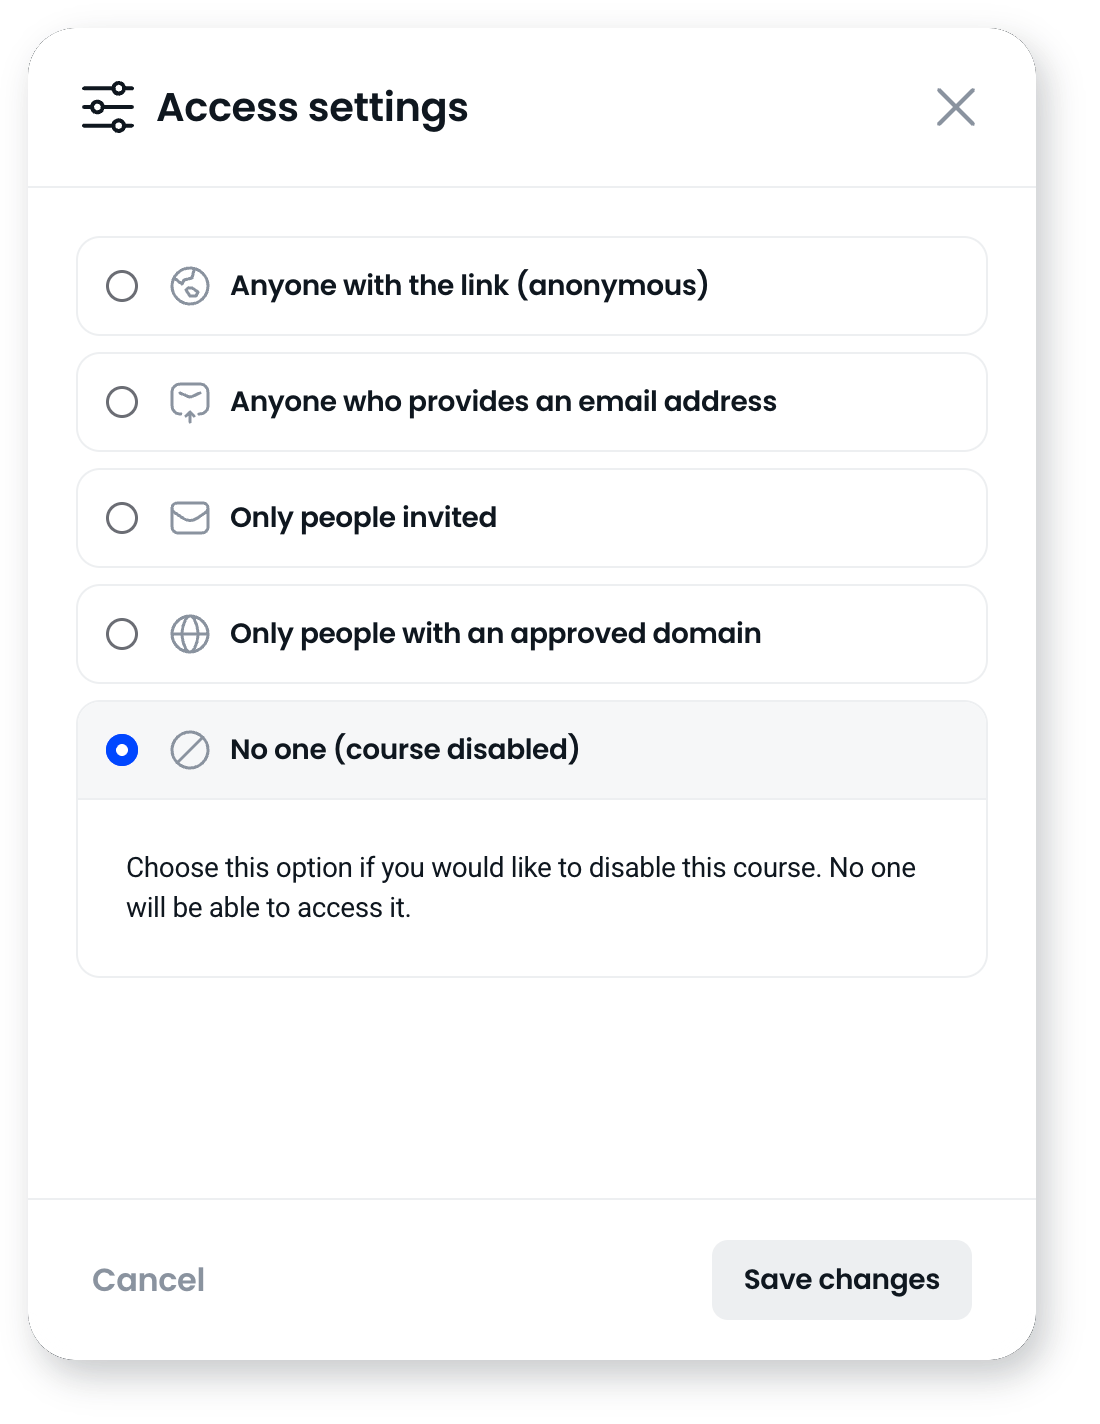
- No one (course disabled): turns off access entirely. Good for temporarily pulling a course while it's updated or under review.
How access affects your recipient count
The option you choose decides how people are counted against your allowances. Anonymous access counts people as Anonymous Recipients (ARs). The three options that capture an email address, whether by asking, inviting, or restricting to a domain, count them as Identified Recipients (IRs). Your current usage against both is on the Usage limits page in Settings.
Share the course
- Copy the link: copy it and paste it anywhere, Slack, Teams, email, or a website. Your access settings still apply.
- Invite people: enter email addresses, Slack members or Slack channels, and optionally customise the invitation. People who select the invite link get immediate access, and anyone added without an invite verifies their email first.
- Export as SCORM: export a SCORM package to upload to an LMS or another learning system.
Frequently asked questions
Can I change access after sharing?
Yes. Update the access setting any time and it takes effect immediately, including for people who already have the link.
How do I see who completed a course?
Use an access option that captures identity, "anyone who provides an email address", "only people invited", or "only an approved domain", so learners are identified in your analytics.
Can I turn off a course temporarily?
Yes. Set access to "No one (course disabled)" to disable it, then re-enable it later by choosing another option.
Do learners need a Coassemble account?
No. People taking a course you share don't need an account or a login, whichever access option you use. An option that captures an email address asks them for it before the course opens, which isn't the same as creating an account.