Media: images
How to add an image block to a screen, and the five places you can get an image from: upload, your library, AI generation, Pexels and GIPHY.
How do I add an image to a course?
Add an Image block to your screen from Add > Media > Image, select Add image on the placeholder, then upload your own file or choose one from your library, Generate, Pexels or GIPHY.
There are no strict size or aspect-ratio rules. Coassemble handles the sizing, so an image will look right without any preparation. When you want a specific part of an image to show, you can reposition it inside its block.
How do I add an image block to a screen?
- Open your course in the Editor and go to the screen you want the image on.
- Select Add in the toolbar at the bottom of the screen, or select the + in an empty space on the screen.
- In the Add block menu, hover over Media and select Image.
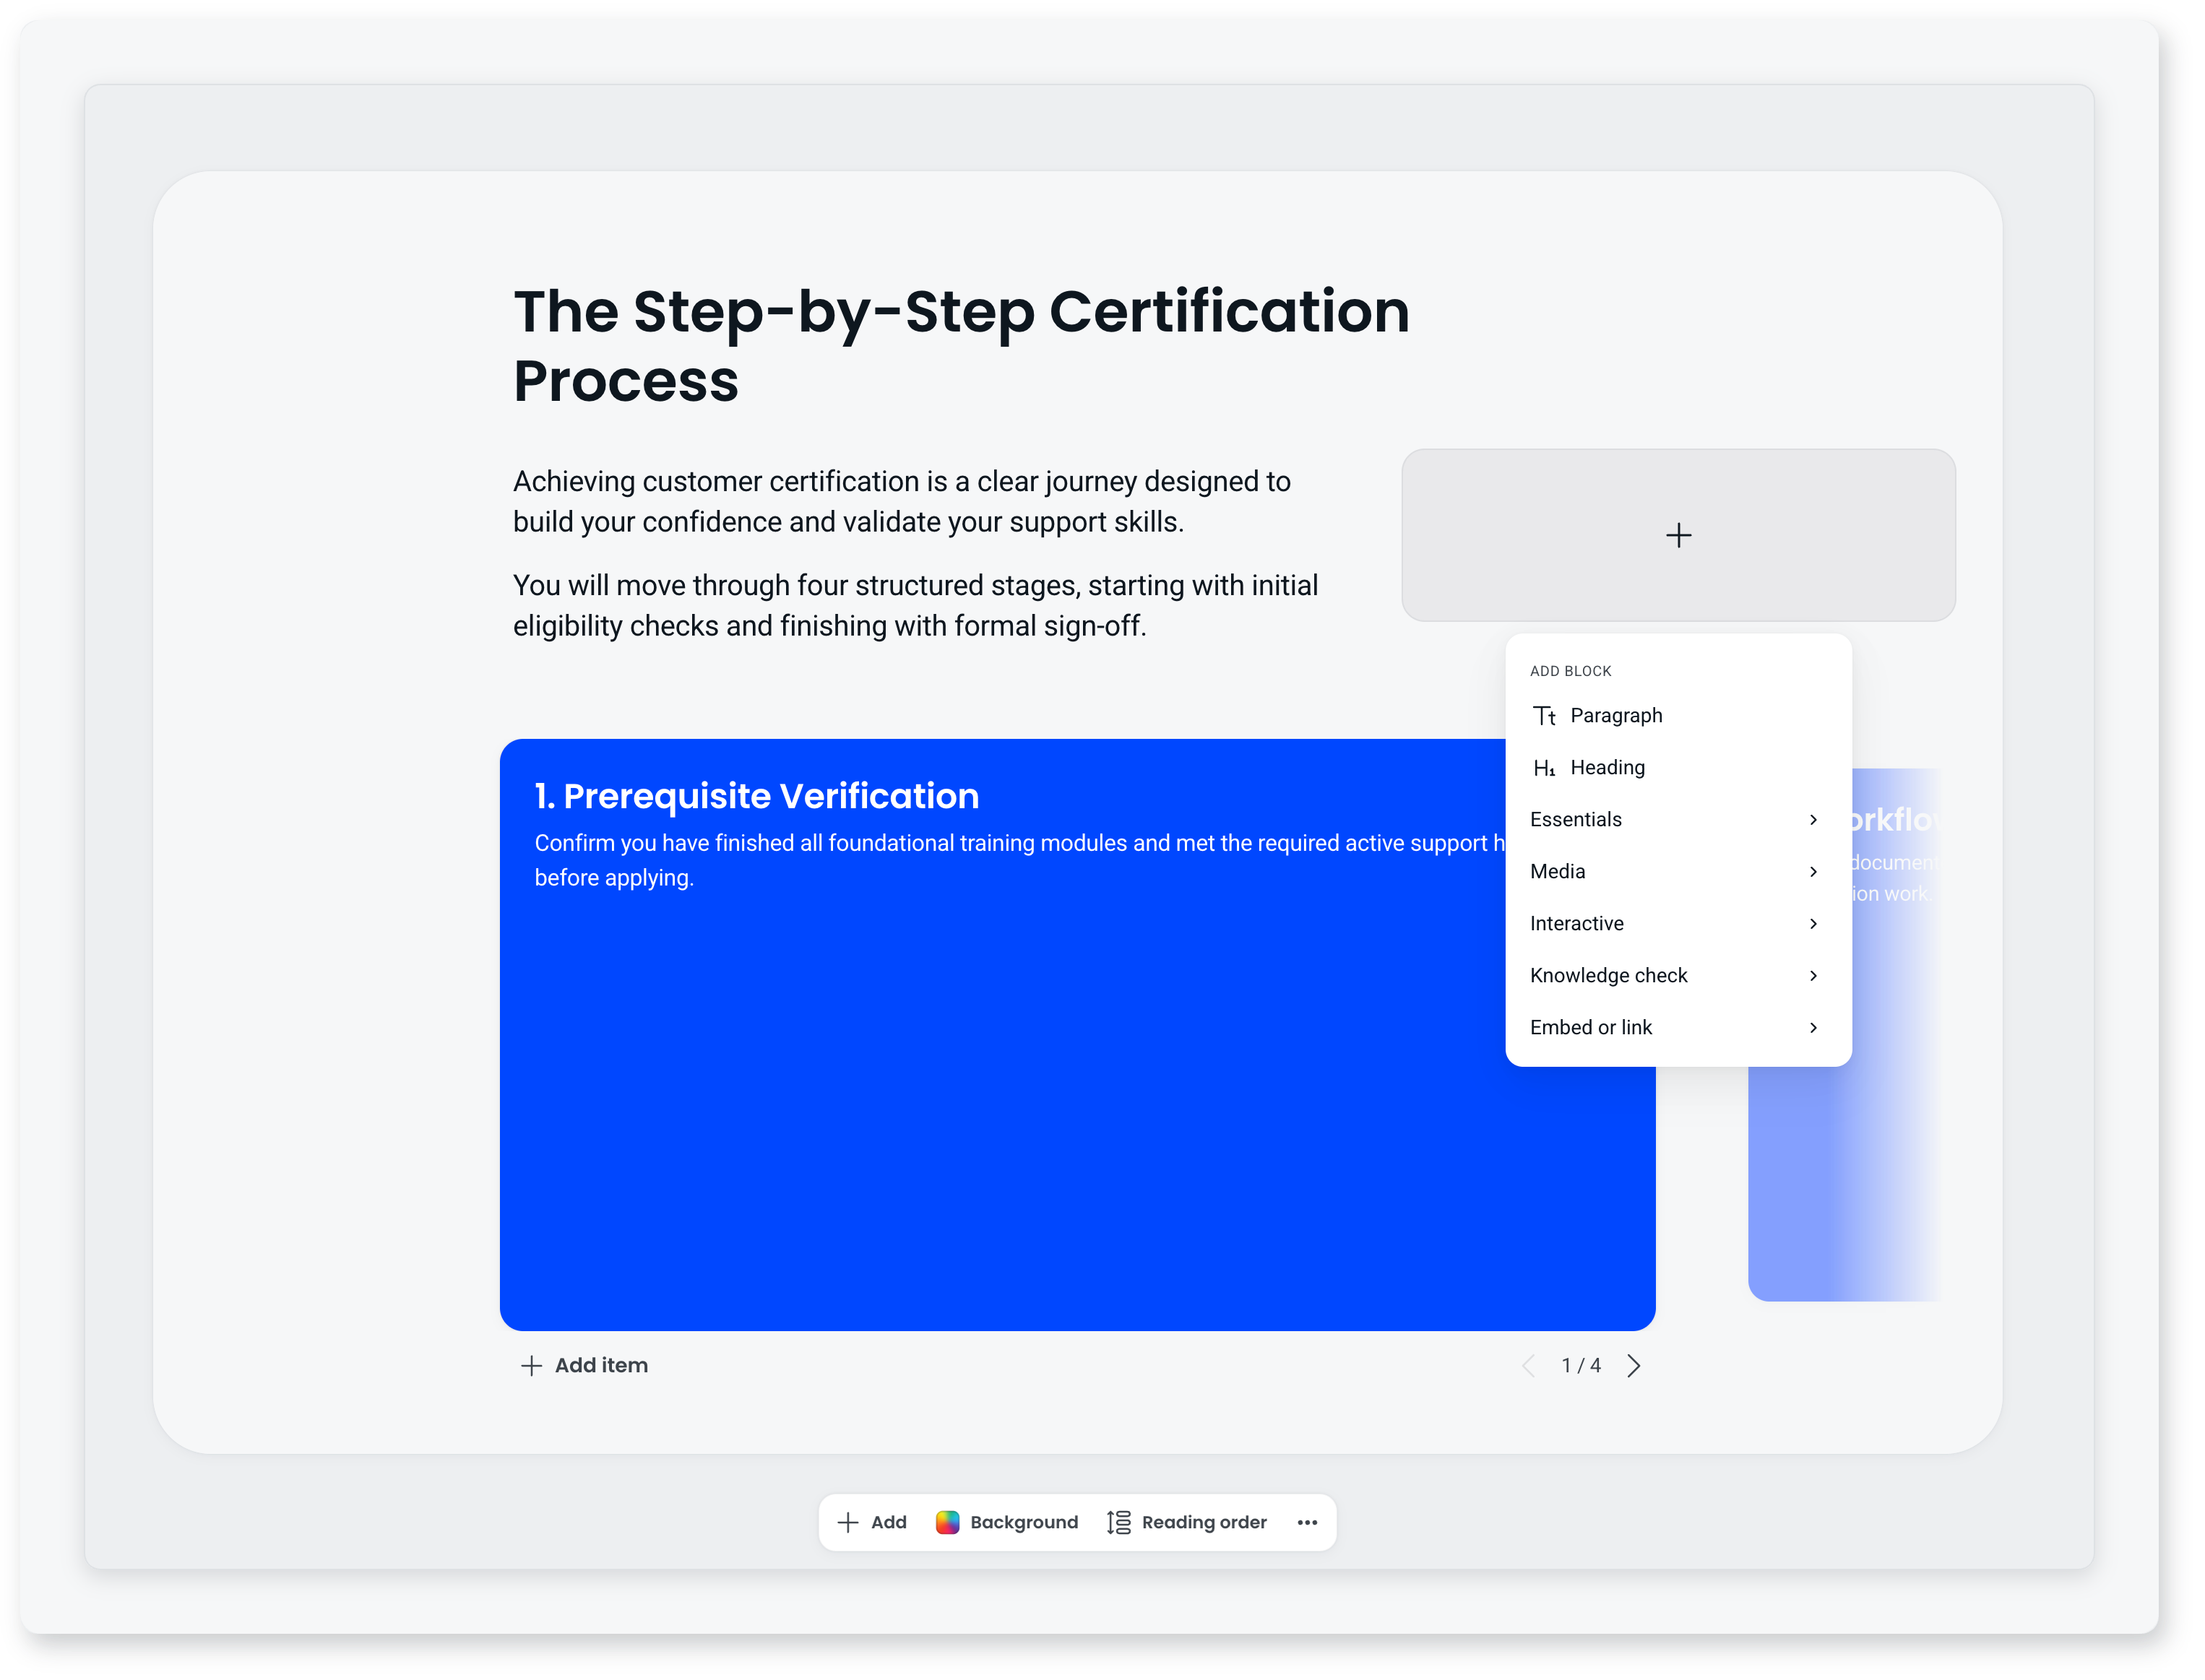
A placeholder image appears in the block, ready for your own image. You can drag the handles on the block's edges to resize it.
How do I upload my own image?
- Select Add image on the placeholder. The Image panel opens on the right of the screen.
- On the Library tab, select Upload.
- Choose a file from your device.
The image is added to the block and saved to your library, so you can reuse it in other courses.
To swap an image you've already added, select it and choose a new one from the same panel.
Where else can I get an image from?
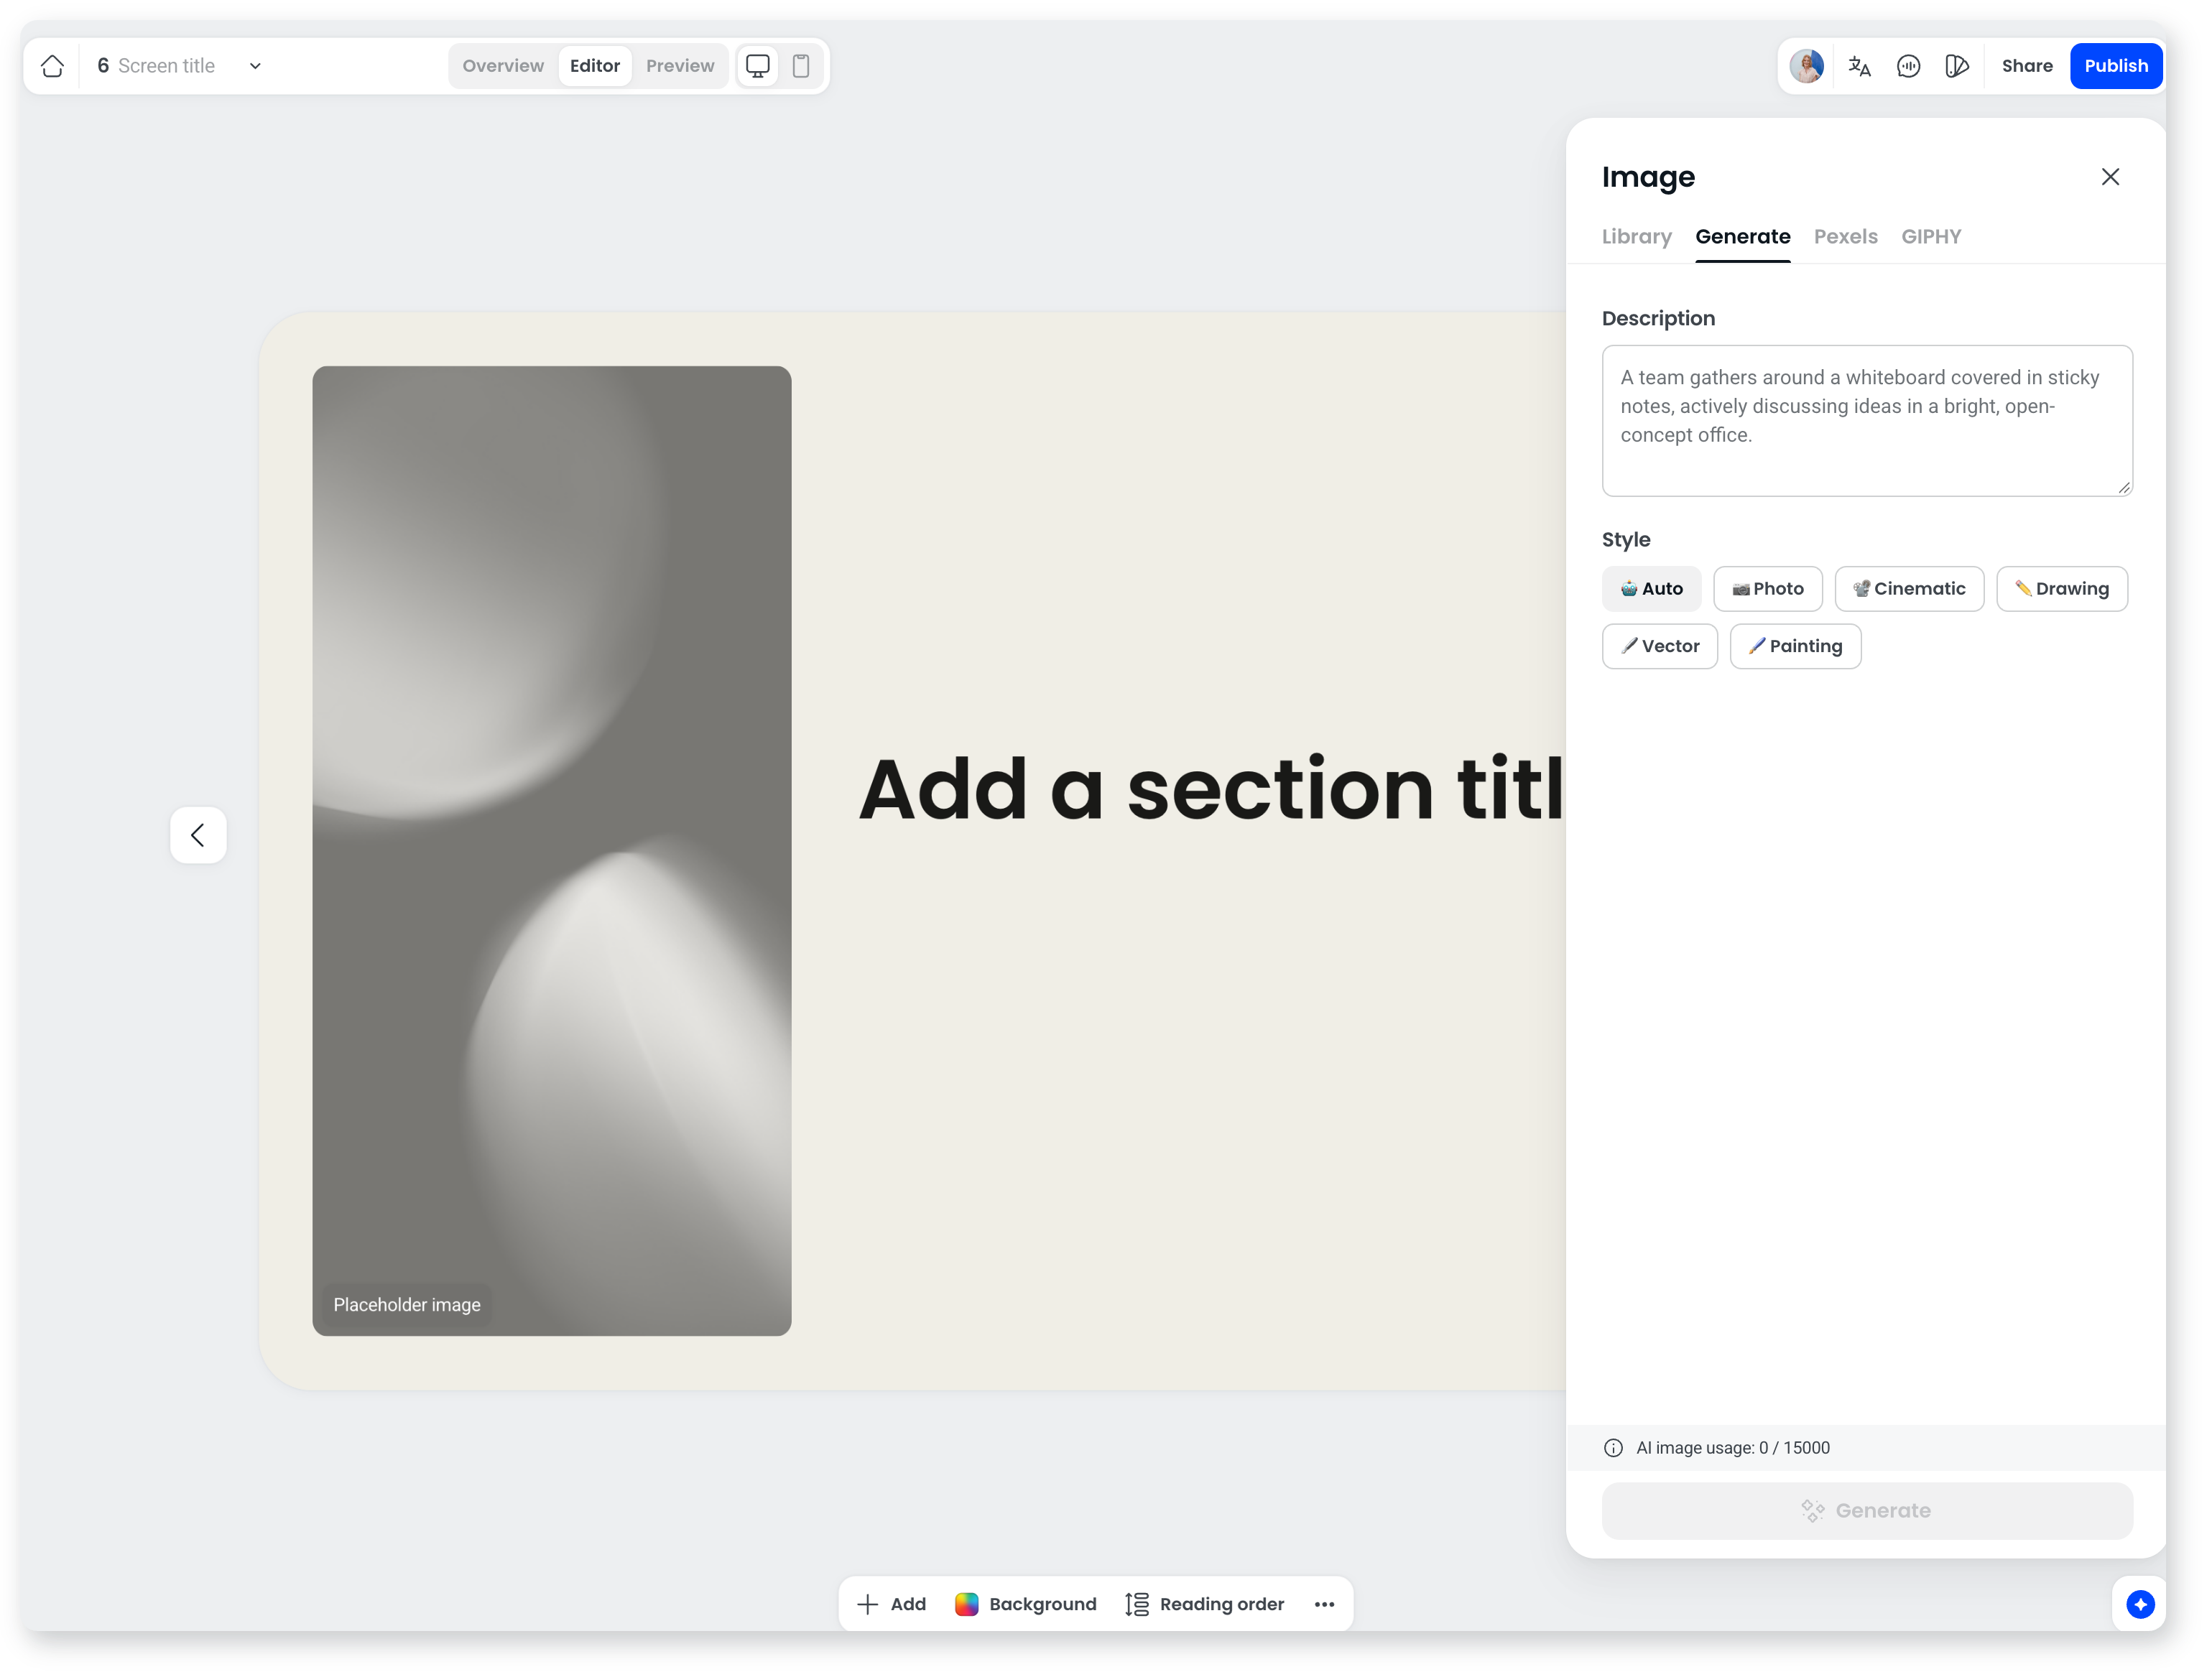
The Image panel has four tabs. Each one adds the image straight into your block when you select it.
- Library: every image you've uploaded or generated before. Scroll through them or use Search your library to find one, then select it.
- Generate: describe the image you want, then pick a style (Auto, Photo, Cinematic, Drawing, Vector or Painting). You'll get four options to choose from, and you can refine your description and try again. Generated images take the topic of the whole course into account as well as the screen they sit on, and they're saved to your library.
- Pexels: search free stock photography and select a photo to add it.
- GIPHY: search for a GIF and select one to add it.
How can I change the way an image displays?
Select the image to open its toolbar above the block. From there you can change how it sits in the block:
- Fill (the default): scales the image to fill its block while keeping the aspect ratio.
- Fit: scales the image so the whole thing is visible, useful when every part matters.
- Background image: behaves like Fit, with your text sitting on top, often with a gentle overlay so the text stays readable.
Reposition an image
Select the image to open its toolbar, then select Crop image. Use the slider to zoom in (up to 3x), drag the crop boundaries to choose the visible area, and select Done to save. The rest of the image is shown faded so you can see what sits outside the frame. This works for images inside process, flashcard and slideshow cards as well as standalone image blocks.
On mobile, an image keeps the shape you set, and you can resize it from the bottom edge.
Remove an image background
Select the image to open its toolbar, then select Remove background. The foreground subject is isolated automatically and the surrounding background is removed, whether it's a solid colour or something busier.
Frequently asked questions
Do I need to crop or resize my images before uploading?
No. There are no strict size or aspect-ratio requirements, and Coassemble resizes images to fit responsively. If you want a particular part of an image to show, reposition it inside the block after you add it.
Where do uploaded and AI-generated images go?
Both are saved to your library, on the Library tab of the Image panel, so you can reuse them across courses.
Can I add more than one image to a screen?
Yes. Add another Image block for each image, or use a Slideshow block (also under Add > Media) when you want learners to move through a set of images.